Last year I started to research and specify a new bike. I was after a fast touring bike that I could use on some longer rides and Audax events. Part of my specification included a dynamo lighting system. I wanted to have reliable lights that did not depend on finding a power source to recharge batteries.
Gone are the days of bottle dynamos that spring against your front tyre and lamps that flicker like a candle in a jam jar. Modern hub dynamos run with little rolling resistance and we all know how good the current generation of LED lights are. Put the two technologies together and you have the basis of an excellent lighting system for a touring bike.
However I soon discovered that getting a dynamo light system together is not quite as simple as it first sounds. Strapping on a couple of USB rechargeable LED lights is one thing, selecting all of the various components required to make a dynamo system work and wiring it up is something else. From start to finish this project took me several months to complete and I made a few mistakes along the way. So if you are interested in getting a dynamo light system I have detailed my journey below and I hope it will be of help. Get yourself a mug of good coffee and settle into a comfortable chair, this is going to be a long one. . .
the the dyno hub
The first step was to choose the dynamo hub and get it built up into a front wheel. This can be a challenge if you have only ever bought complete wheels sets. You need to find a good wheel builder and investigate additional details such as rims and spokes. I my case I had been struggling to find an off the peg wheel-set that met my requirements so I had already decided to go down the custom wheel build route. Adding a dyno hub to the build specification was therefore not an issue and it also meant that I could have matching spokes and rims on the front and rear wheels. I had actually decided to get 3 wheels built, 1 rear and 2 fronts, one with the dyno hub and one with a normal hub. I could then easily swap the front dyno hub wheel out for the normal one if I didn’t need the dyno, saving a few watts and unnecessary wear on an expensive hub.
There are a few companies making dyno hubs, the main ones available in the the UK being; SON, Exposure, Shimano and Shutter Precision.
If you want to nerd-out on this stuff there are lots of websites that have produced graphs which compare the power output and drag vs speed of the various models.
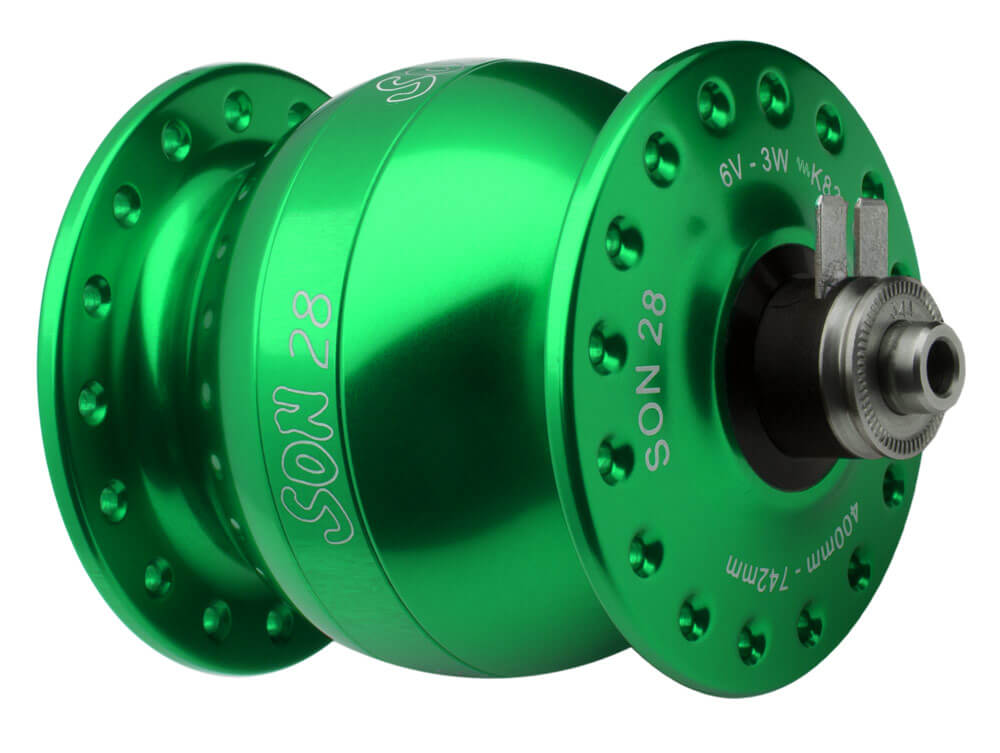
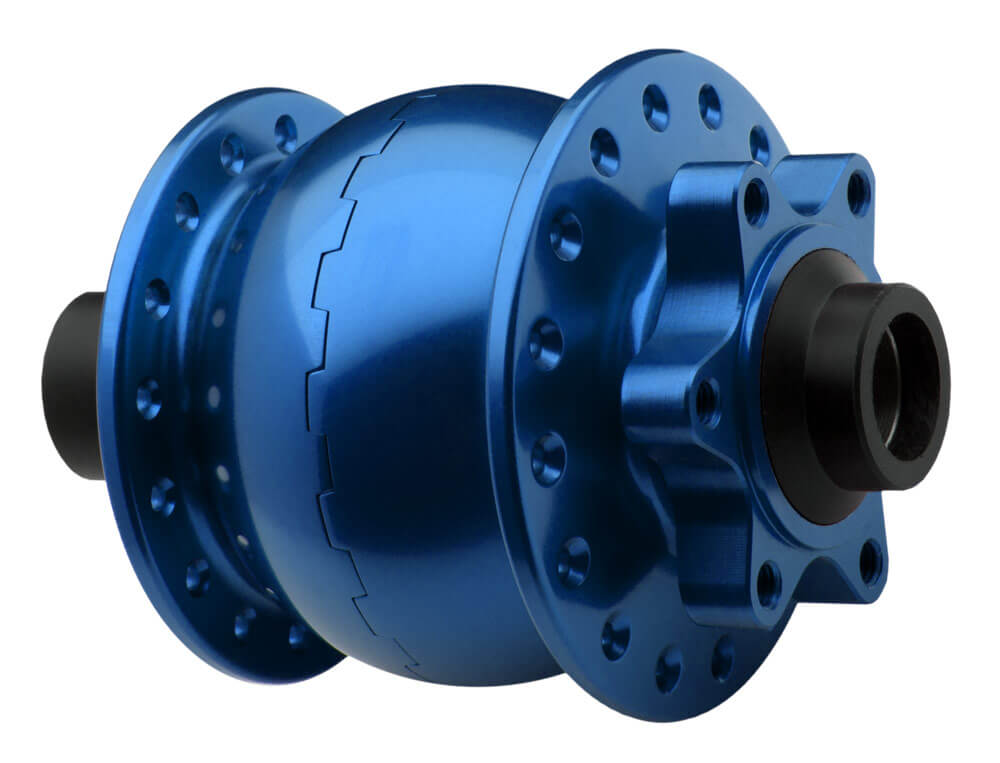
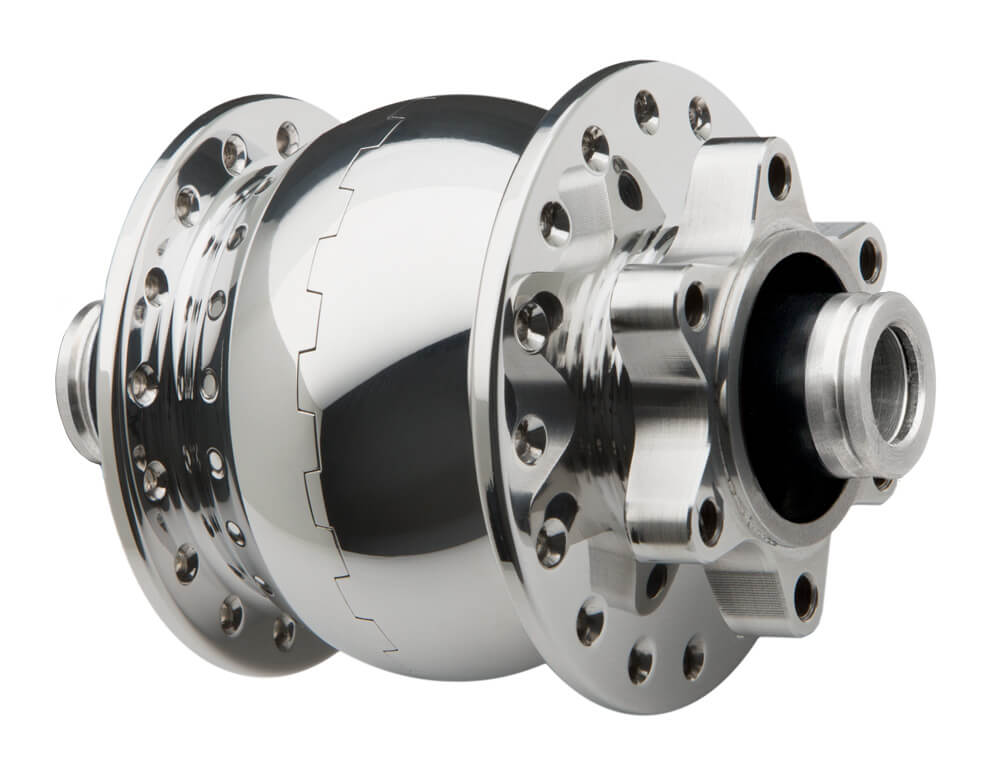
I ended up choosing a SON dynamo, these guys have the reputation for being the best of the best in terms of reliability with some riders reporting tens of thousands of km from them before they need a service. They also have some of the better power vs drag numbers out there. The only downside is cost, all of this goodness comes at a price and they are easily the most expensive in town, but if performance matters there is no choice.
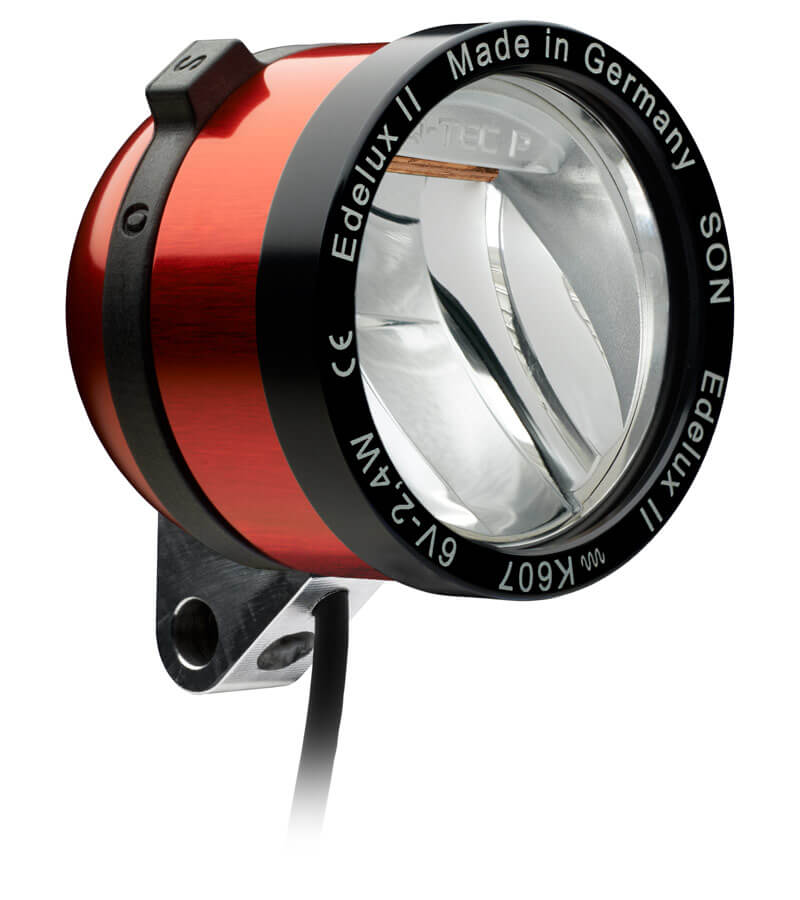
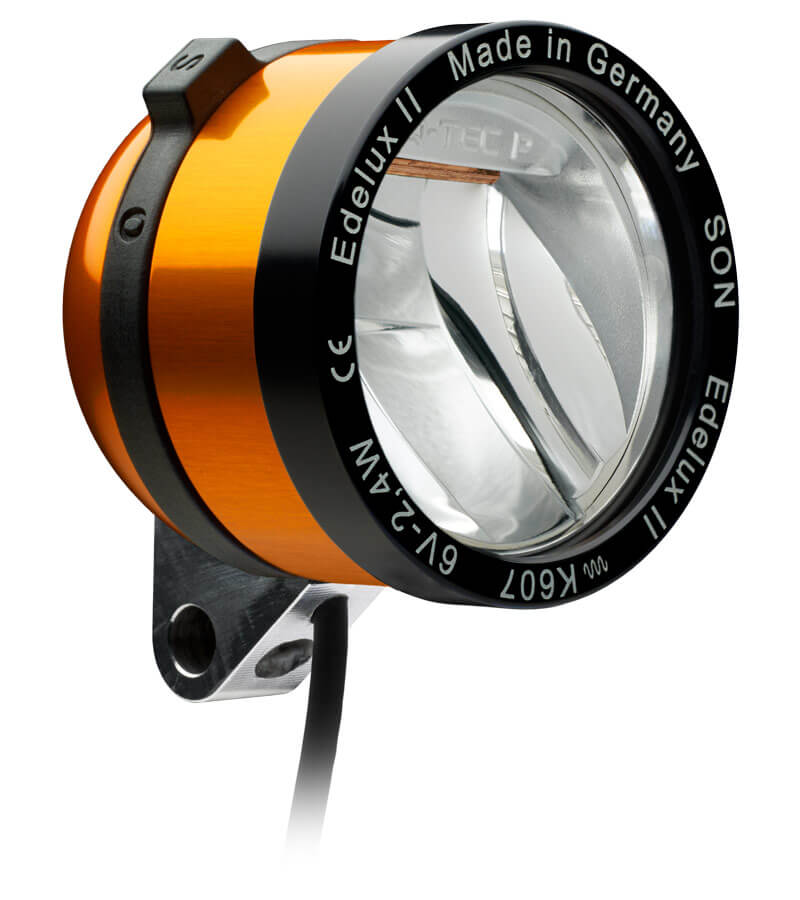
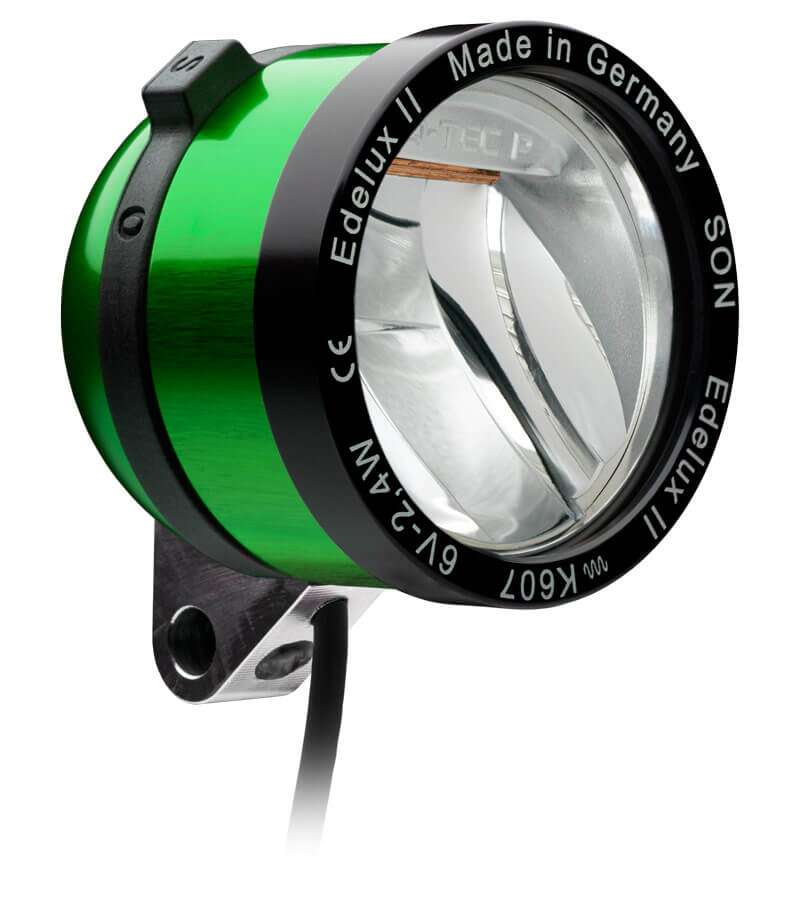
So a SON hub its was, now did I say “no choice”, just before you hit the “buy now” button on your favourite internet shopping site just be aware that SON make a huge range of hubs to suit every conceivable configuration of axels, brake systems, hub widths and spoke counts. Double and triple check before you buy. They also come in a range of different anodised aluminium finishes if thats your thing, I went for black.


the front light
You next major choice is the lights themselves. Here again there are a number of manufacturers of lighting systems readily available in the UK such as; SON, Sinewave, Supernova, Busch & Muller and Exposure.
The main issue to consider for the front light of course is the beam. If you are going to be riding off-road with all of the issues that brings you need a the most powerful light you can find with all round illumination. Something like the Exposure Revo or Supernova E3 Triple would be excellent. Unfortunately a light like this is not practical on the road as it will dazzle oncoming road users and may be illegal in some countries (read Germany where they have a law to cover everything). For touring use a road specific light is more sensible. Companies like SON and B&M produce lights with road specific optics, focusing the beam evenly along the road in front of you with a sharp cut-off edge to the patten to ensure oncoming road users are not blinded.
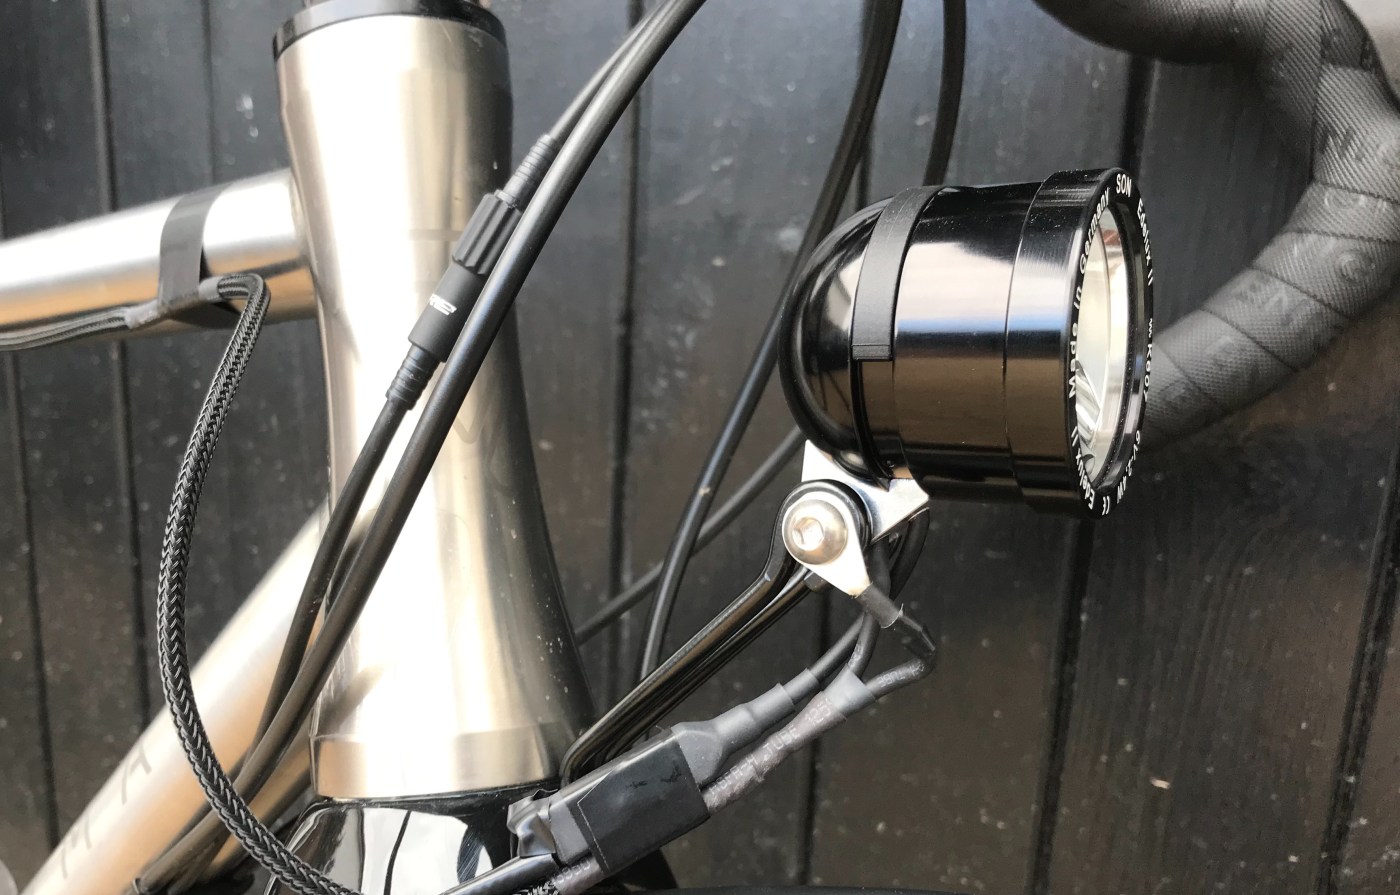
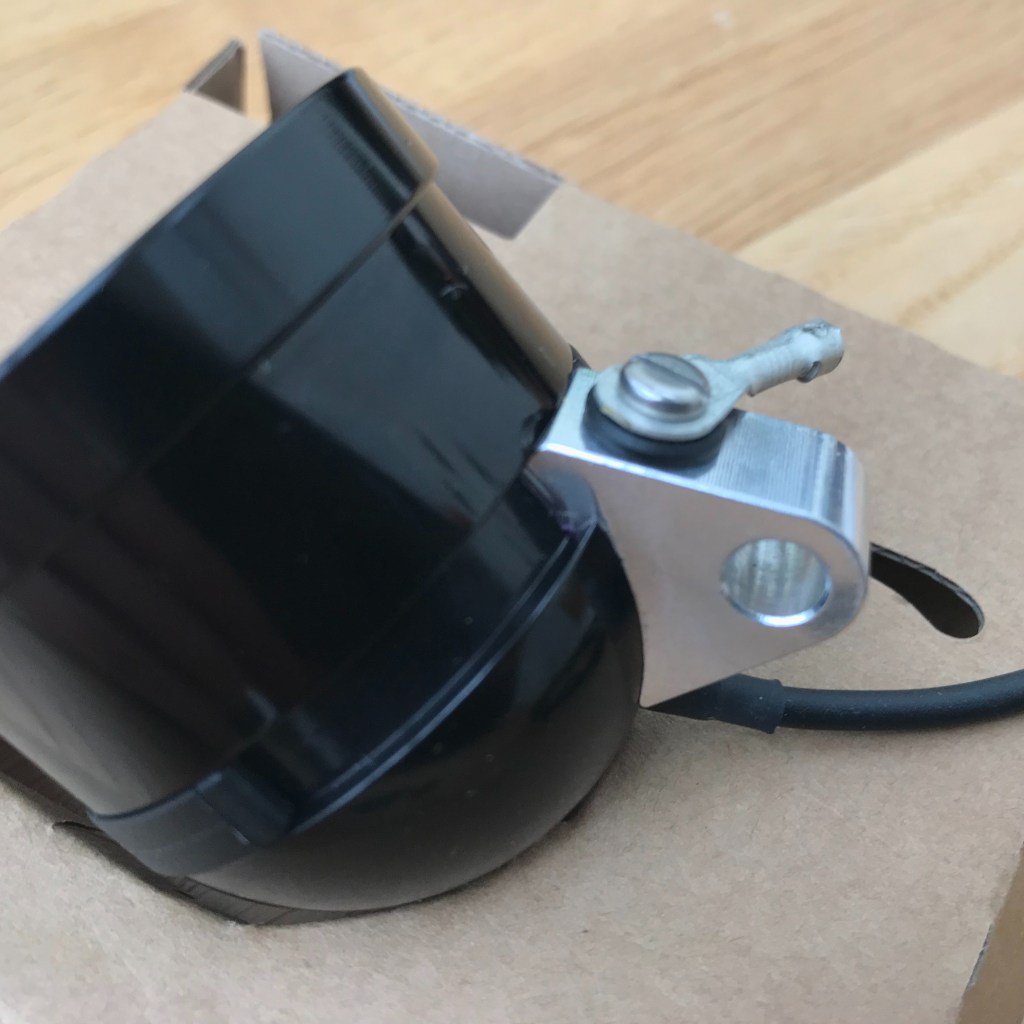
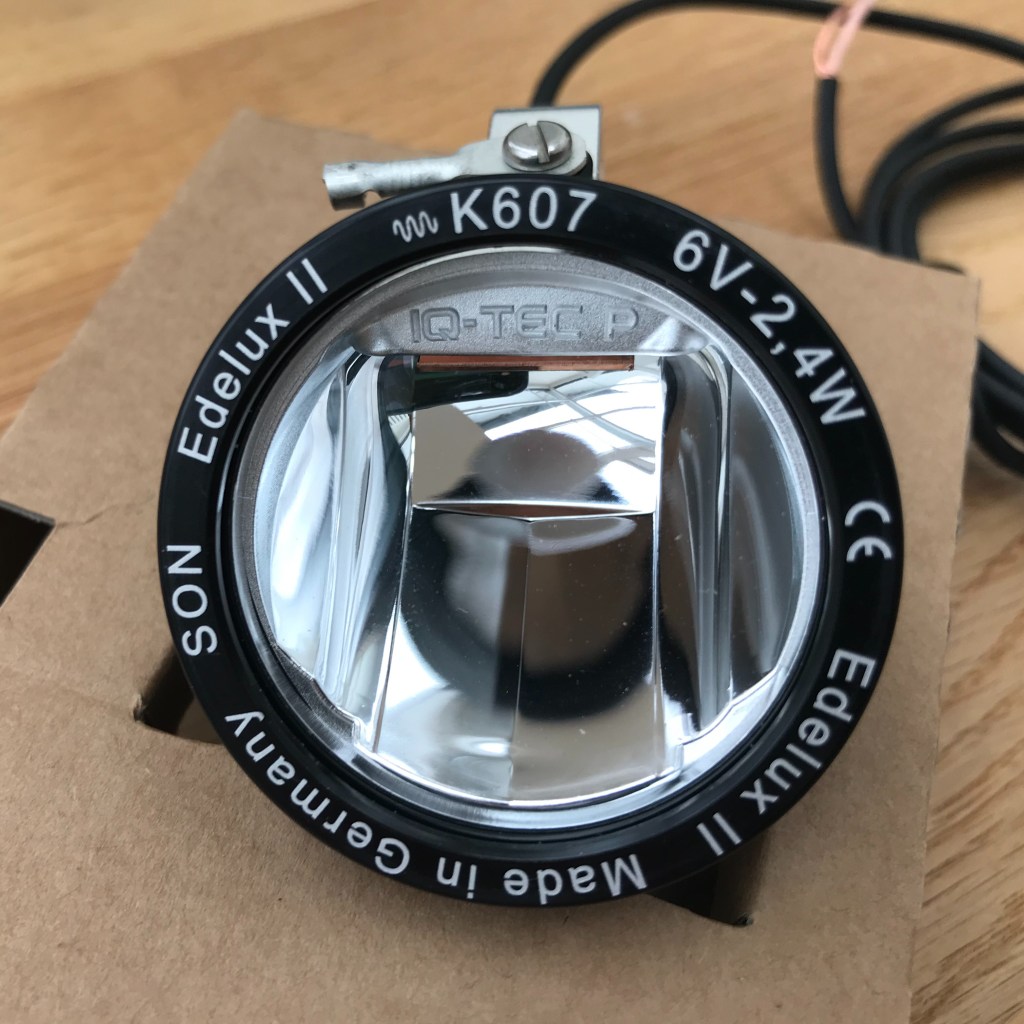
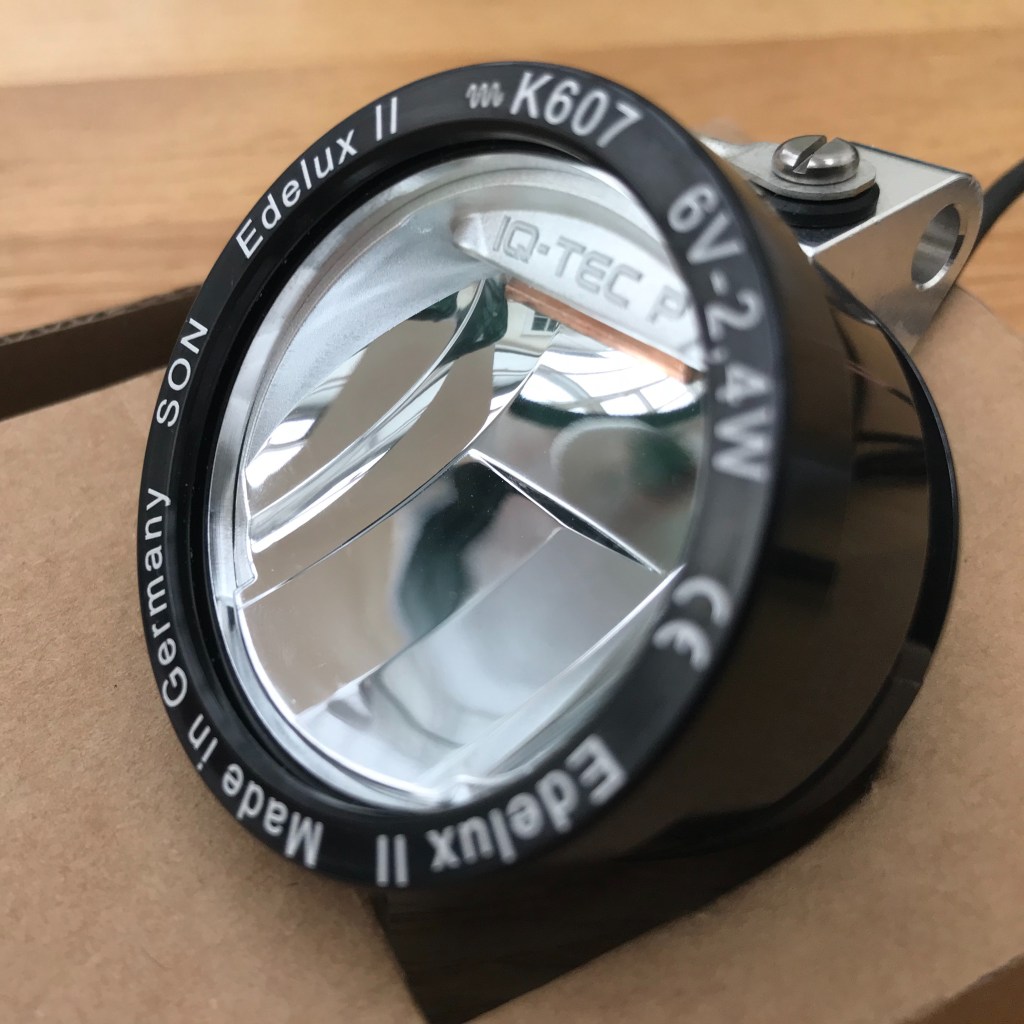
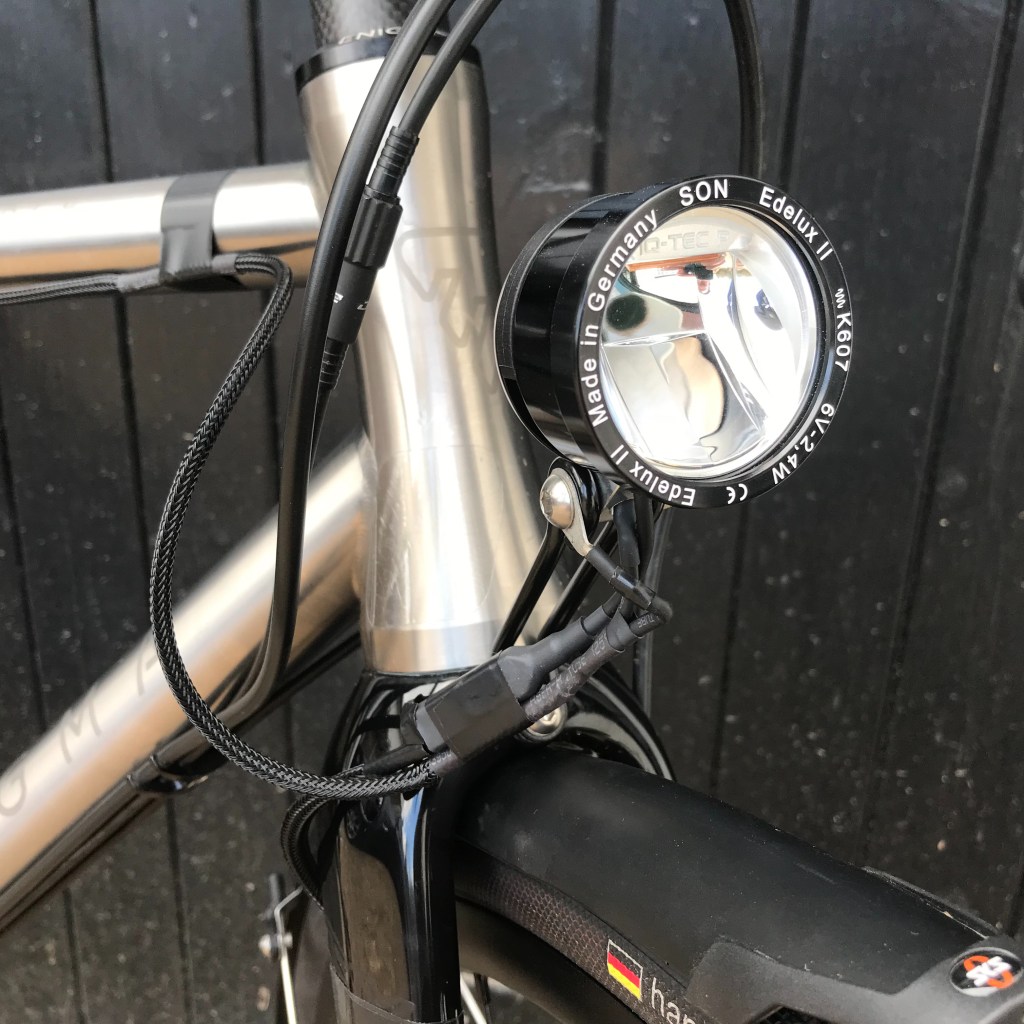
I was close to buying a Supernova E3 Pro but on advice settled for a SON Edelux II. This light has great optics, a good reputation amongst the Audax community and of course it keeps consistency with the dynamo. They also come in a range of different anodised aluminium finishes if thats your thing, I went for black. Did I say that already?
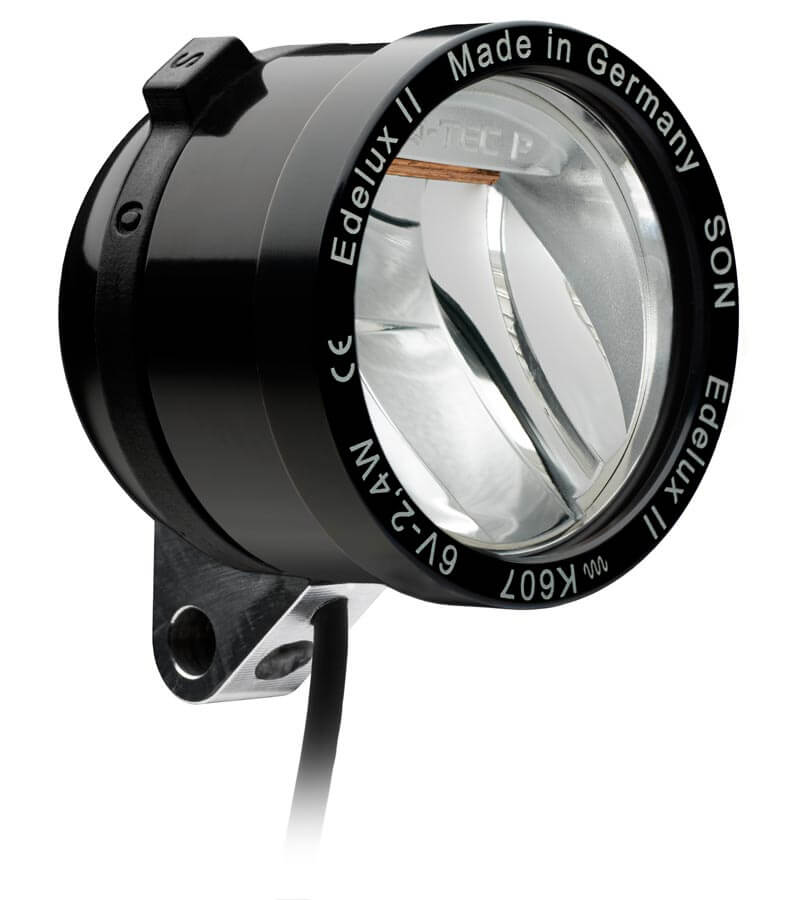

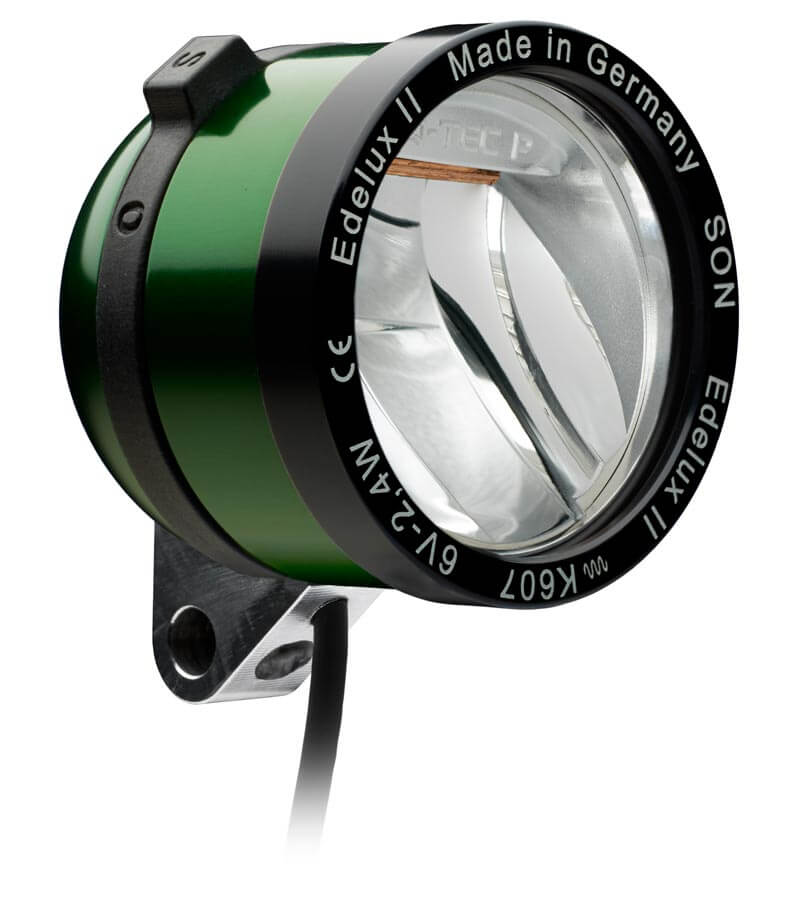
The next point to consider is the mounting arrangement. SON Edelux lights come in 2 different versions, the normal mount (designed for a fork crown bracket) or “upside down” mount for mounting underneath handlebars. Like the hubs it is critical you get this right, because of the asymmetrical beam patten you can only mount it one way up.

For reasons that are too long and boring to recount here I bought the wrong light TWICE! I am very grateful to SJS Cycles from whom I bought my lights who were very understanding and sorted our the necessary returns without hesitation.
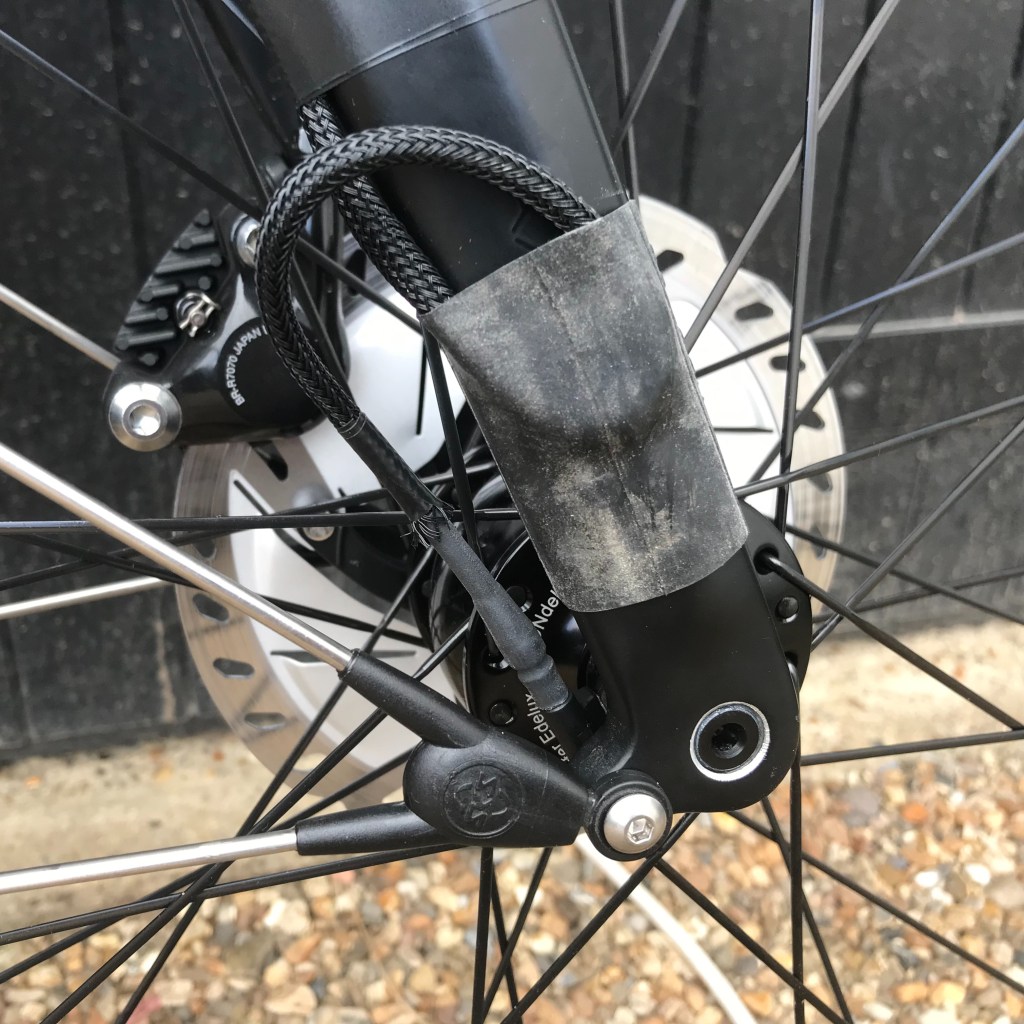
Finally be aware that SON supply their front lights with a few different cable options. I am completely rubbish at soldering so I wanted to avoid anything that required flux to be melted. Hence I chose one that was pre-wired with the necessary plugs to connect to the Dynamo. The only downside was that with the plug fitted I could not run the cable down the hole inside my fork intended for just that purpose. Drat and double drat. So the cable is tapped to the outside of my fork just like every other installation you will see.
the rear light
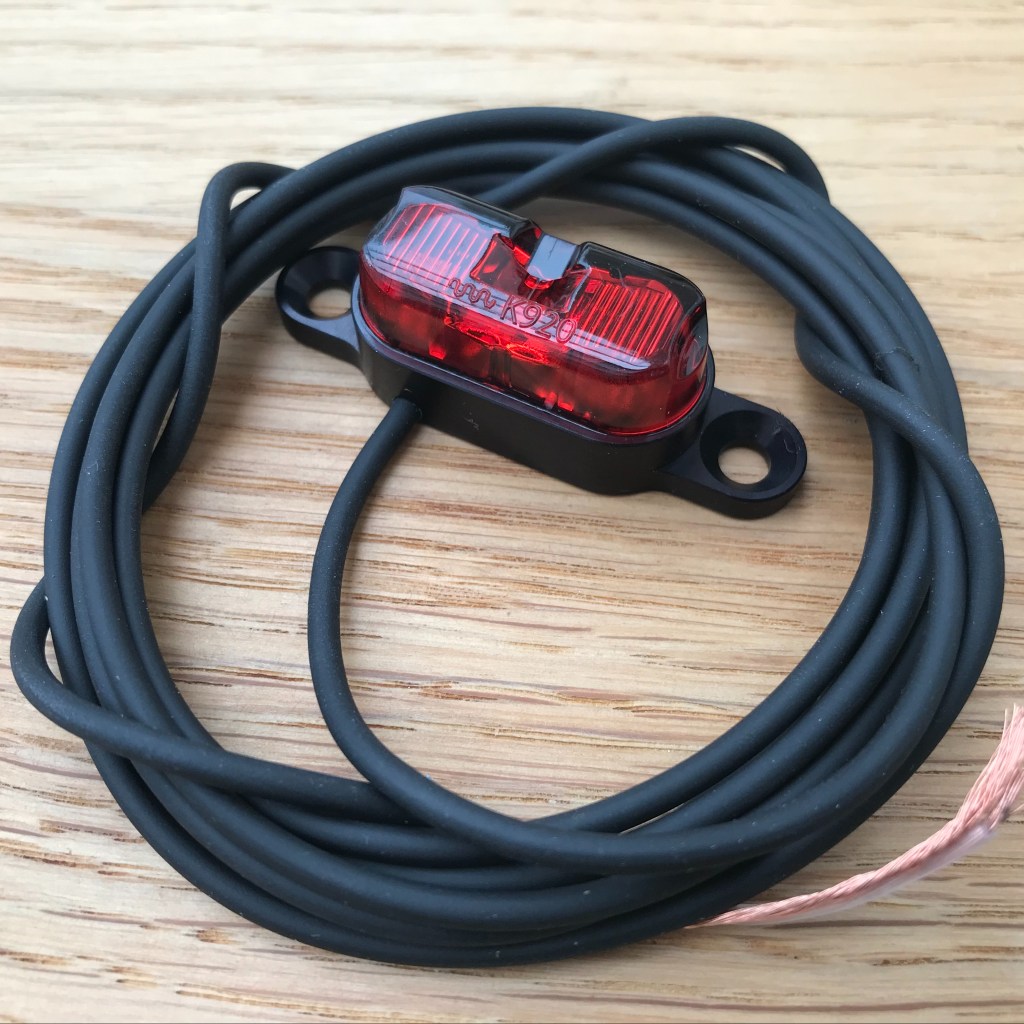
Then its onto the rear light. Generally the front light will include terminals to which you can connect the rear light. However not all of the systems work in the same way so it is important to match the rear light to the output from the front light. Some outputs are AC from the dynamo, some are DC from the rectifier on the light, some have an earth wire, some earth via the frame. They need to match or they will not work. Fortunately SON also make a rear light so it was not an issue, but not all suppliers of front lights do.
Again there are some mounting options that you need to consider. Like most SON offer a seat post mount light or a rack mount light. They are different and you need to select the correct one for your set up.

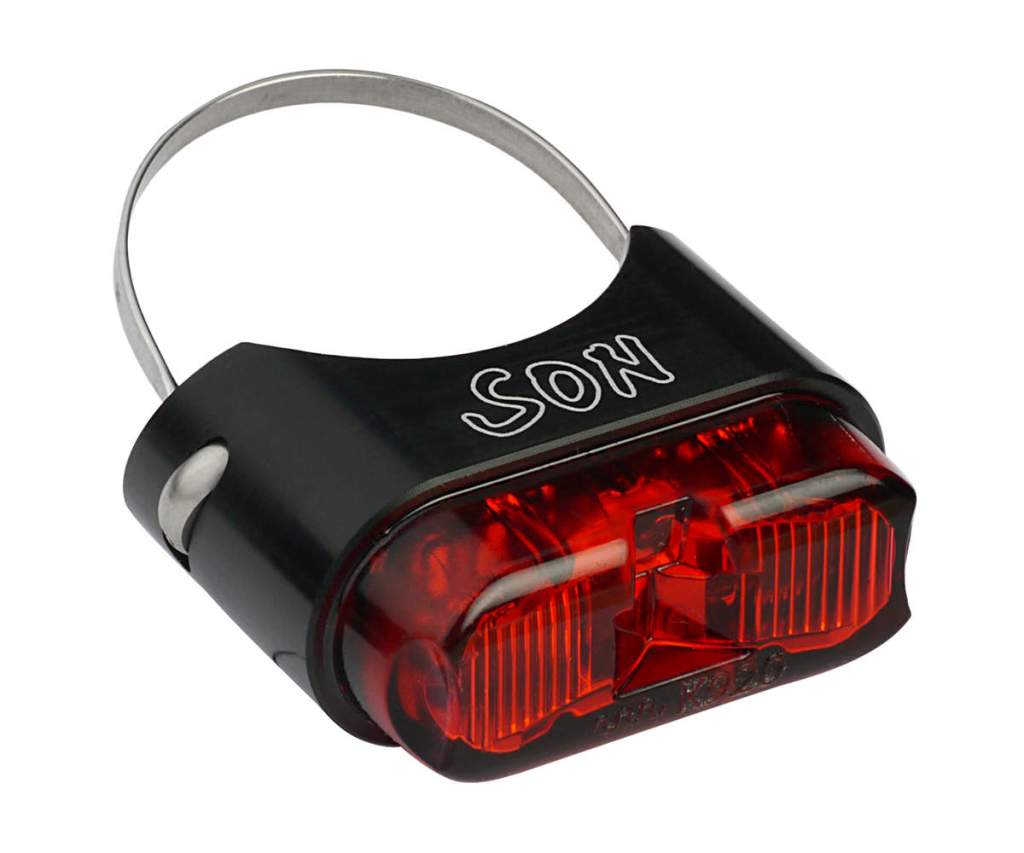
You will not be surprised to know they come in lots of different colours.
In my case I was not planning to have a rear rack so that would mean a seat post mount. However I was planning to have a large saddle bag for Audax riding and that would obscure a seat post mounted light. This left me with a but of a problem. After much, much searching on the internet I found this bracket from Framebuilder Supply in the US.
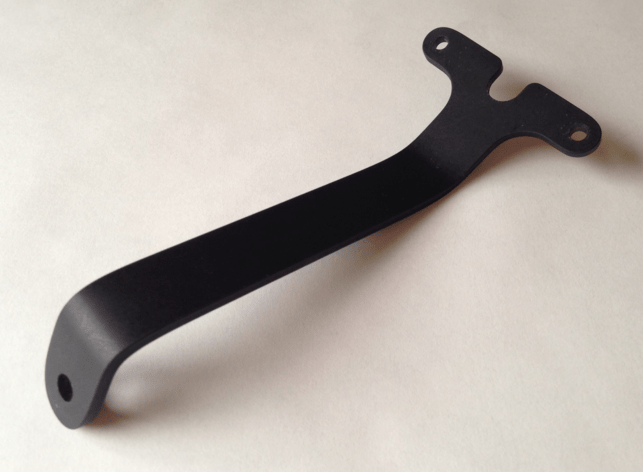
One end secures to the seat stay bridge (assuming your disc brake bike has one of those of course!), the other has the correct mounting holes for the rack mount light. It works perfectly, getting the light clear of both the rear wheel and a medium sized saddle pack. The bracket itself was not expensive, however the shipping from the US was more than the cost of the bracket, making it a somewhat expensive item overall.
the installation
After many hours of internet researching and sourcing eventually I had a pile of little boxes with all kinds of lighting related goodness for my bike. All that was left was to was wire it all up.
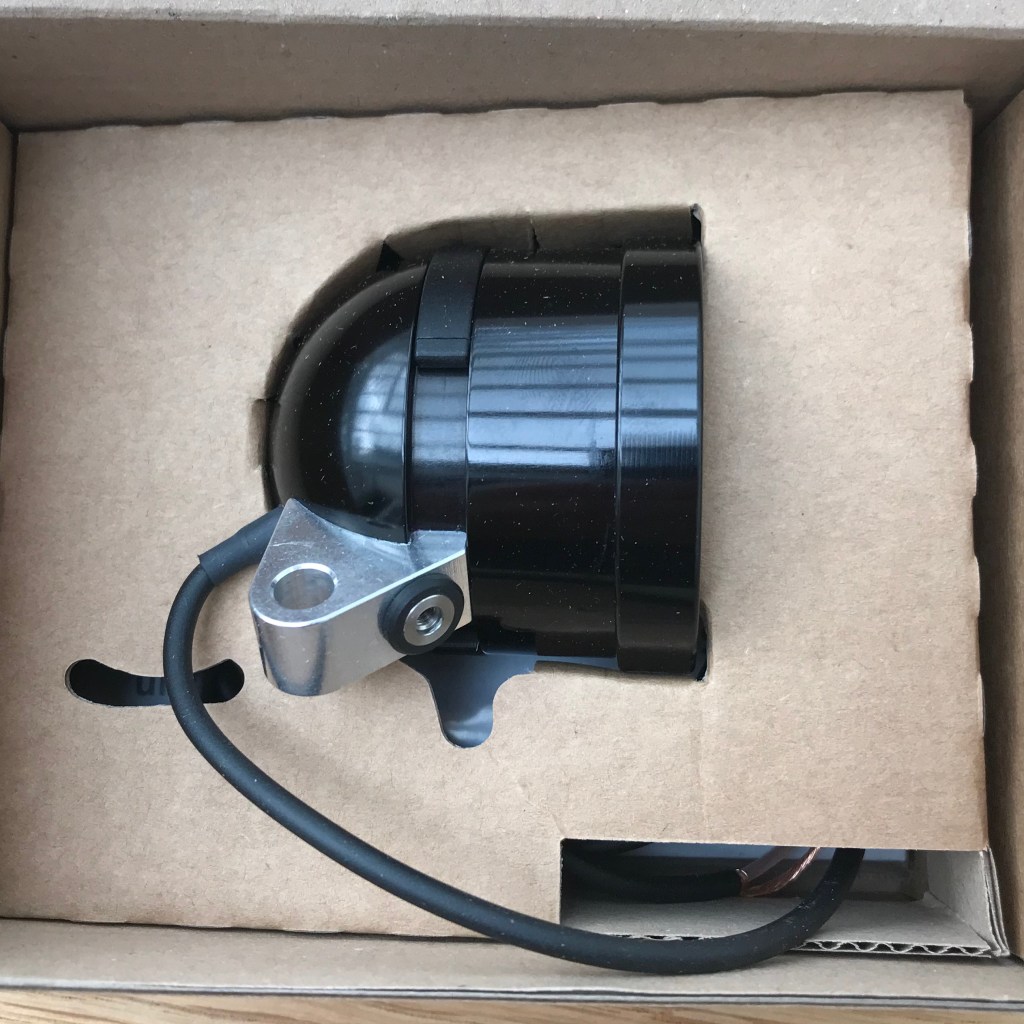
The front light arrives in a small, environmentally friendly cardboard box, with insulated terminals for the rear light. As you can see from these photos the optics throw a unique beam pattern on the road from the single LED which is mounted in the top of the light facing backwards.
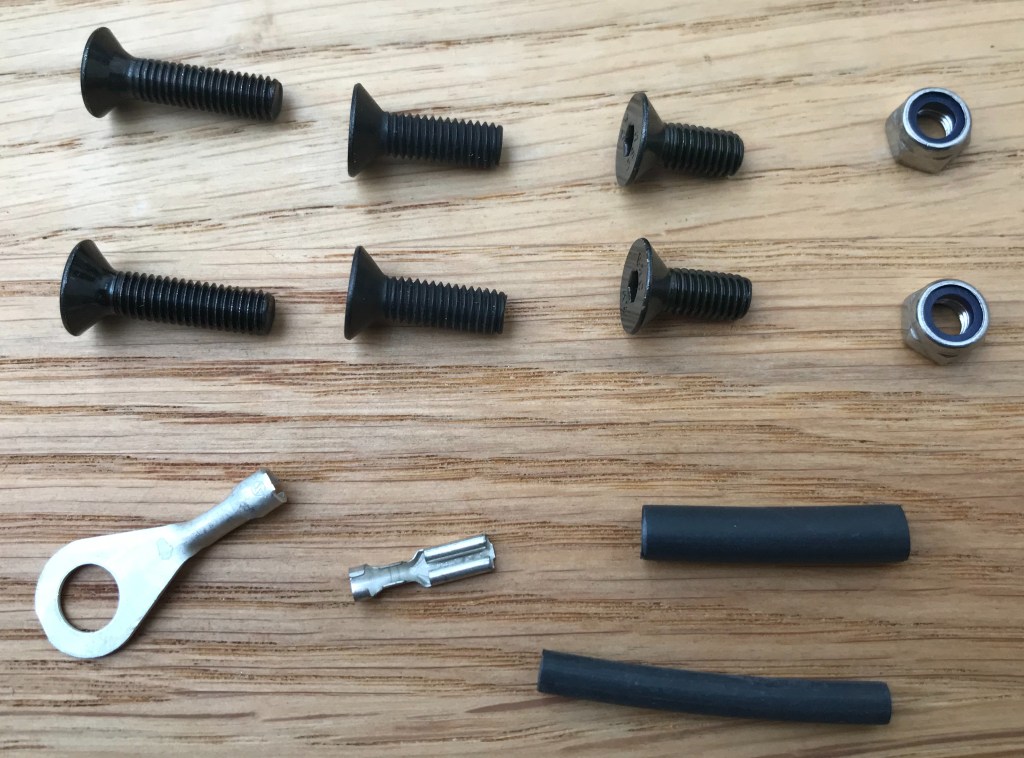
The rear light comes with an unterminated cable, there are no options here. However since the connections are made with crimp-on spade connections the good news is that no soldering is required. Phew. In the packet you get some mounting screws, the necessary spade connections and some heat shrink tubing to seal the connections.
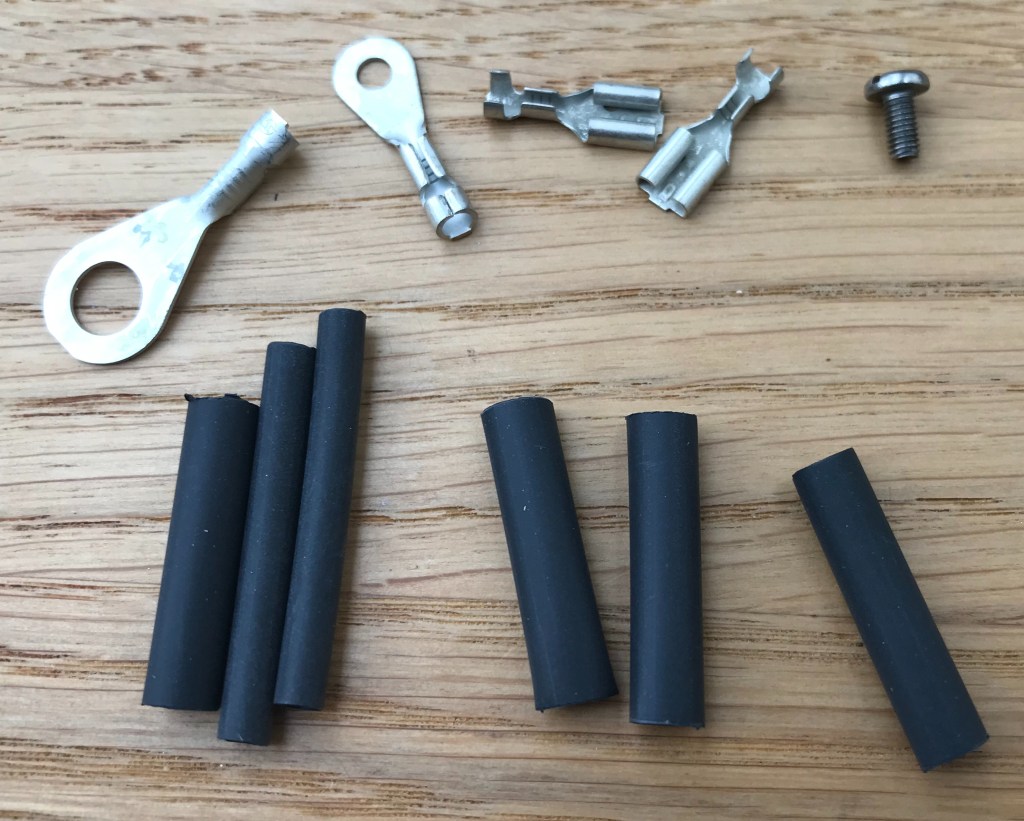
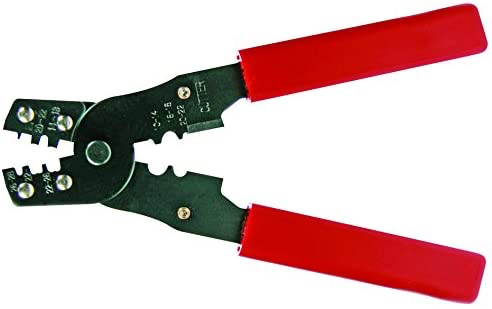
After measuring the cable and cutting it to the correct length slip some heat shrink over the end, crimp on the connectors and seal with the heat shrink. If you have not fitted crimp connectors before I thoroughly recommend that you buy a crimping tool, they are like a pair of pliers but with specially designed jaws for the job. You can do it with normal pliers but having the proper tool makes for a better, more secure connection. I bought a pair from Amazon for £8. I’ll use them to wire in the speed camera detector in my car as well.
If you have not used heat shrink before its quite easy, you just need a good hair dryer. Heat the heat shrink evenly all round and it shrinks into shape in just a few seconds. You will probably need to hold the cable in some pliers unless you have asbestos fingers. Just don’t forget to slip the heat shrink it over the cable before you crimp on the connector.
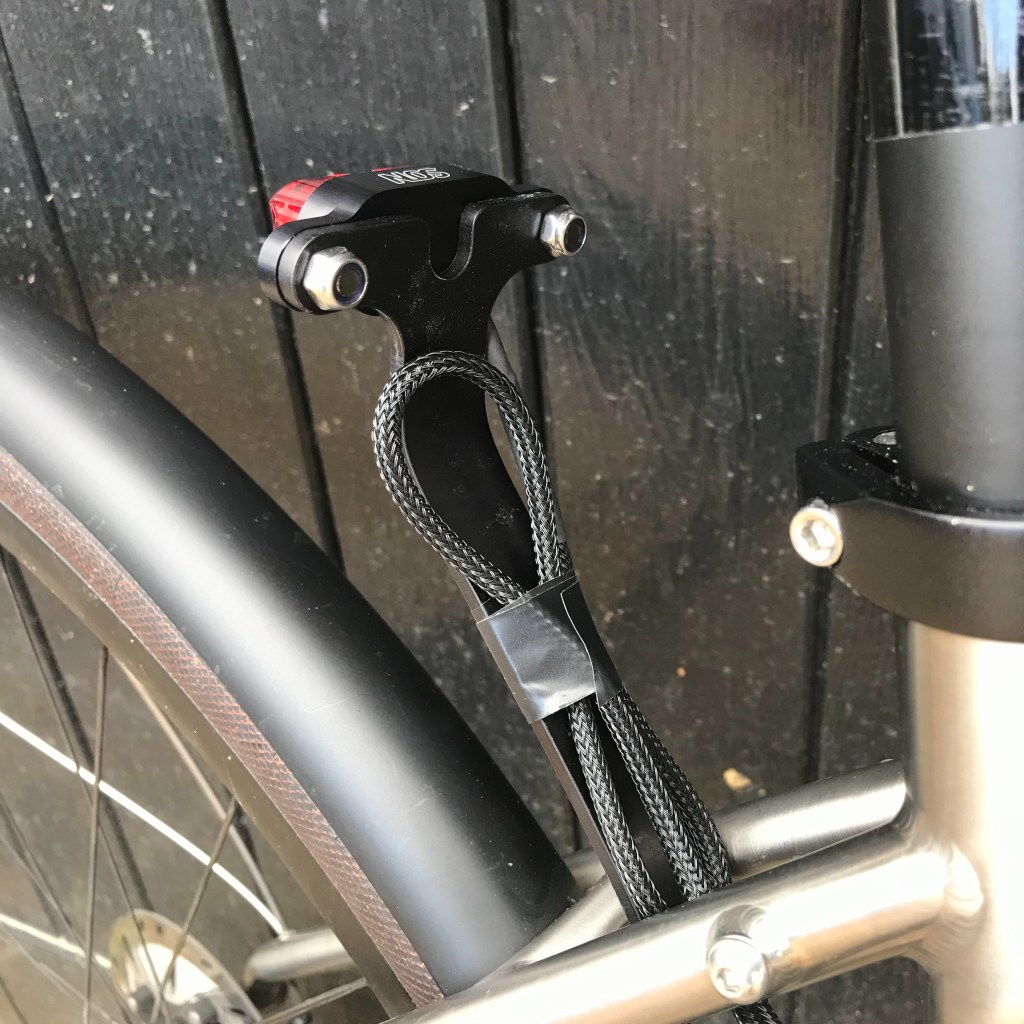
To attach the cables to the frame and forks I have just used electrical tape, quick and easy to remove if needed. You can use cable ties but think about protecting the frame underneath first.
One final tip is that I used some nylon braided cable sleeve to protect the dynamo cables, sealing the ends with more heat shrink. I was worried about the cables getting damaged as they are sealed into the light body and cannot be replaced.
So after all that what does it all look like you ask. Well here is the rear light on its bracket. As you can see it clears the rear wheel and also the saddlebag. I actually left a little slack in the cable just in case and taped a loop of cable to the rear of the bracket.
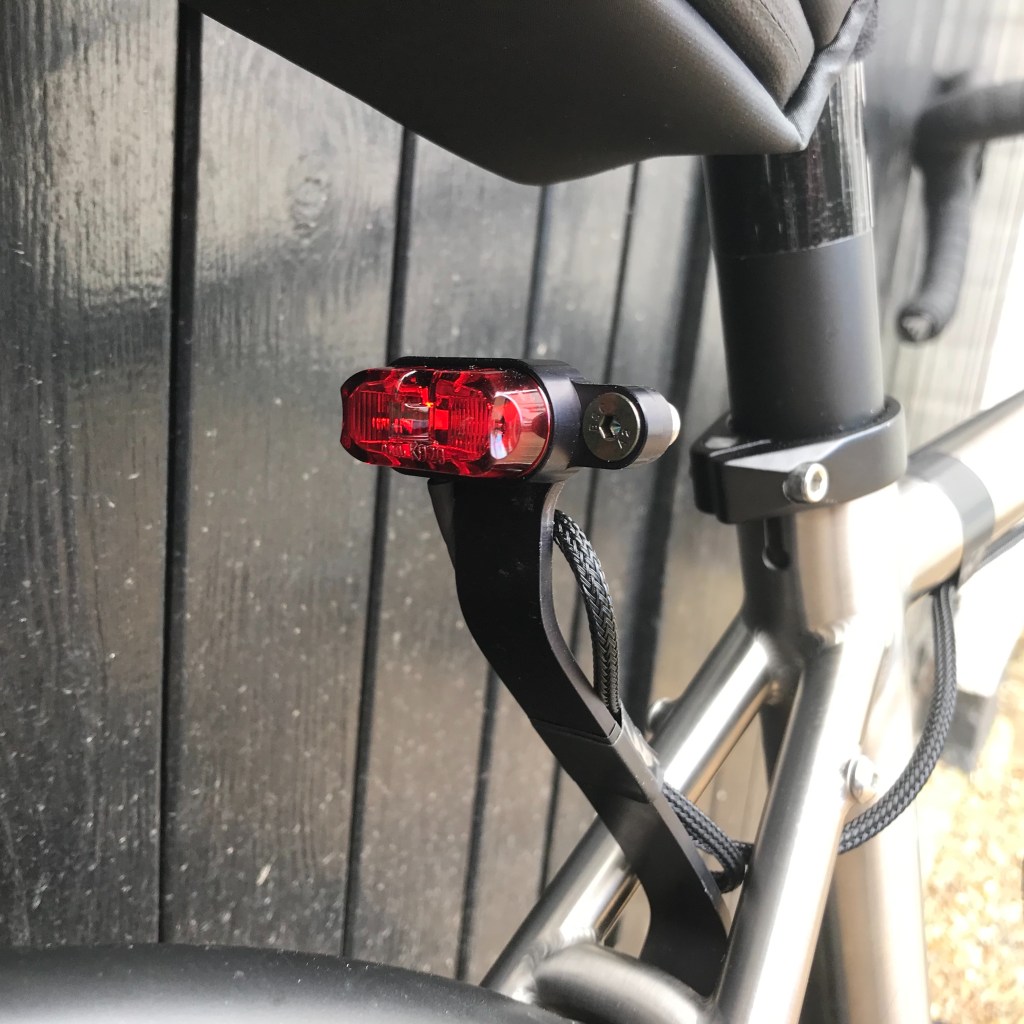

The front light attaches to the fork crown with a bracket supplied with the light. At the lower end of the fork I have left a loop of cable with is secured with a length of old inner tube. This gives me some slack in the cable to make it easy to disconnect from the dyno and a method to secure the end of the cable if I swap out the dyno hub wheel for the wheel with a normal hub.

the conclusions
If you are worried about the drag from a hub dynamo I can tell you that it is really negligible. Give the front wheel a spin and it rotates freely for some time, as it slows you can see a “notchyness” as the poles of the dynamo pass the magnets and this resistance is what brings it to a stop. I would say it is similar to the drag of the freehub on the rear wheel. (yes I know the freehub does not drag when you are actually cycling but I am just trying to quantify it for you!) I recently did a PB up a local climb on my touring bike with the dynamo running so it can’t be that bad can it!
The only thing I might change is the bracket for the front light. The supplied bracket is OK but not particularly rigid and hence it does wobble a bit uneven roads. I might spend some time looking for something better. I just need some dark nights and the end of lock down to test the rig out more fully on a long night ride.
The “stand light” system works just fine, keeping the lights illuminated for a short time if you stop at say traffic lights.
Since it is now summer here I have been on a few test rides in the day time. If, like me, you normally have a front and rear day time running light for extra visibility I don’t think this will replace that. The rear light is bright enough and very visible but it does not flash. The front light is also bright, but the beam pattern is designed to illuminate the road and not to show to oncoming road users. So I think I will always still have a couple of small battery LED flashing lights for visibility, day and night.
the resources
If you want to build a similar set up then I bought all of the light components from SJS Cycles in the UK, They offer excellent advice and a great returns policy as I discovered.
I found an excellent resource on Dynamo lights on the Peter White Cycles web site including photos of the beam patters of various lights.
https://www.peterwhitecycles.com
The source of my rear light bracket;

Leave a comment